Most people picture solar as panels on a roof. The panels are the easy part. What decides whether a system is safe, compliant and still working in ten years is everything between the roof and the DB board — the DC protection, the inverter, the battery, the changeover and the grid protection. Here is what a properly done installation looks like, step by step, using photos from our own East Rand installs.
1. Site assessment and design
Before anything is ordered we look at three things: your electricity usage (ideally from a year of bills or a smart meter), your roof — orientation, pitch, shading, and whether the structure and tiles are sound — and your DB board. The DB decides a surprising amount: an old board with no space, no earth leakage and unlabelled circuits needs to be sorted out before an inverter can be connected to it. From that we size the array, the inverter and the battery, and separate your circuits into what will run on solar/battery and what stays on the grid.
2. Panels and mounting
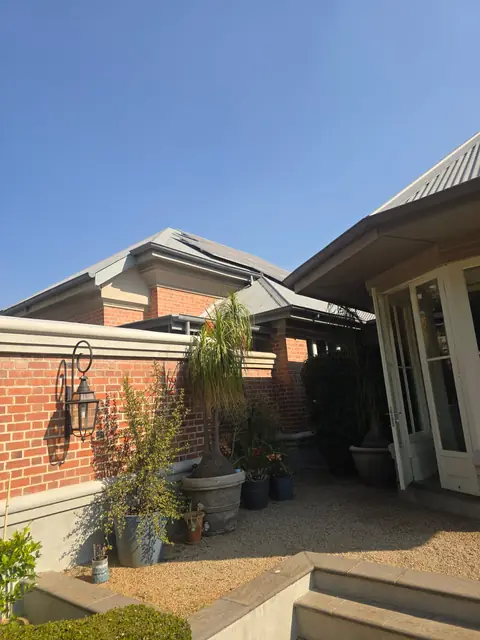
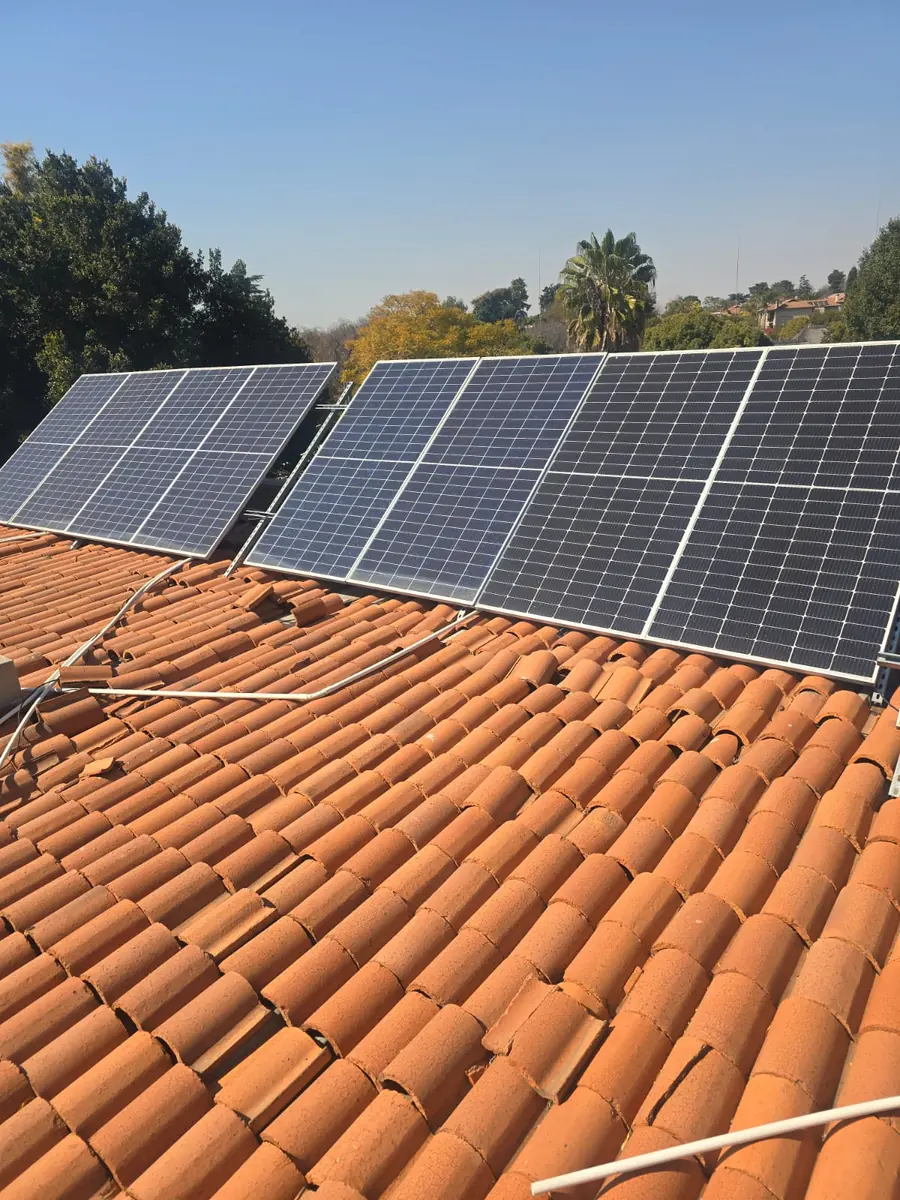
Panels are mounted on aluminium rails fixed through the roof covering into the rafters or purlins, with flashings sealed against leaks. On a tiled roof like the one below the tiles are lifted, the brackets fixed, and the tiles relaid. Panels are wired in series into “strings”, and the string voltage — often several hundred volts DC — is why the next step matters so much.
3. DC protection: the combiner box and DC breakers
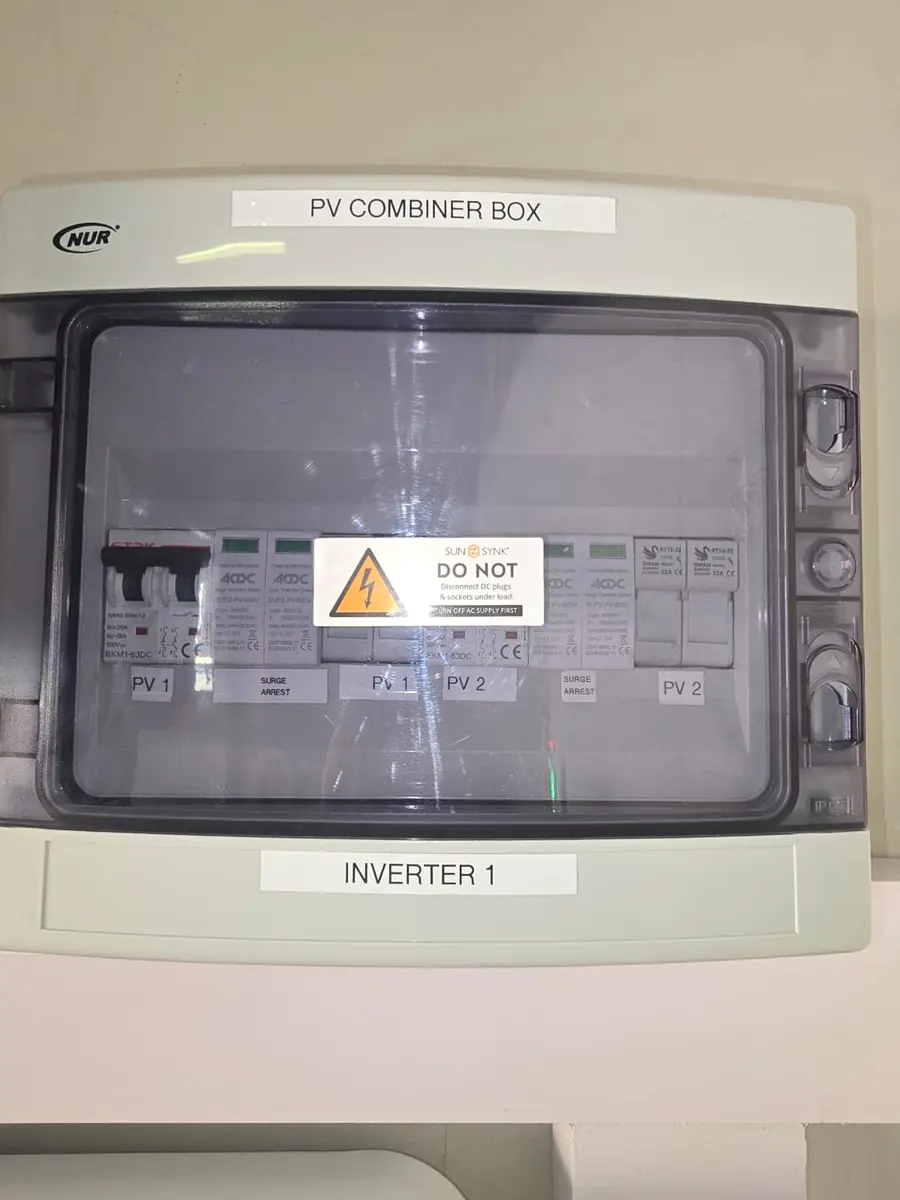
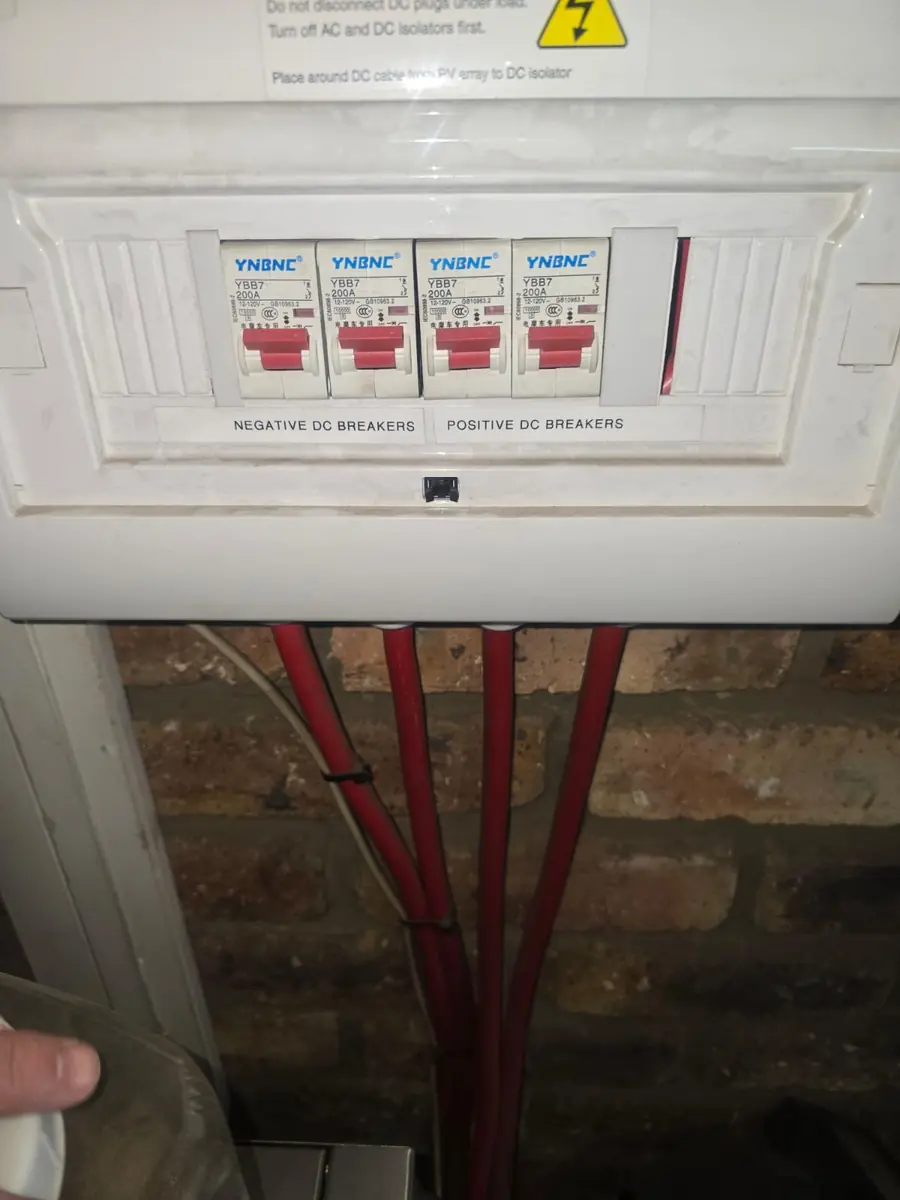
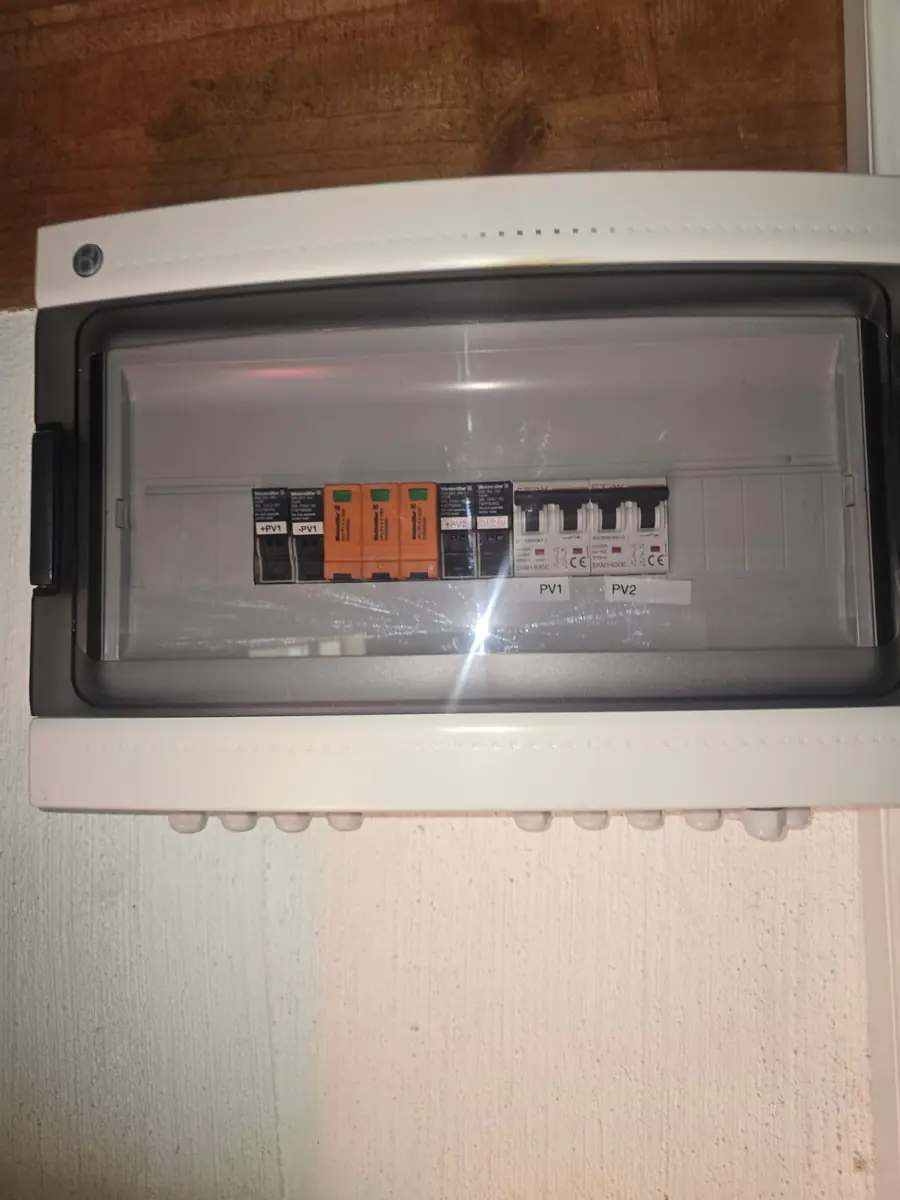
String cables come down into a PV combiner box. Here each string has its own fuse or breaker, there is a DC surge arrestor to protect the inverter from lightning-induced surges (the Highveld has some of the highest lightning activity in the world), and a DC isolator so the inverter can be worked on safely. Solar DC cannot be switched off at the panels while the sun is shining, so this box is the only place the installer can safely isolate the array.
4. The hybrid inverter
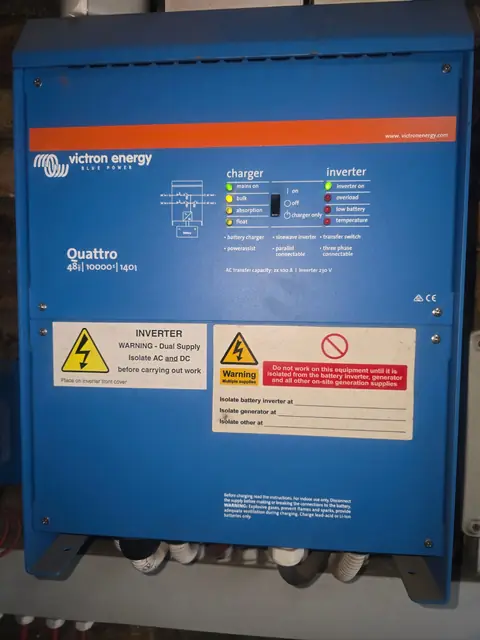
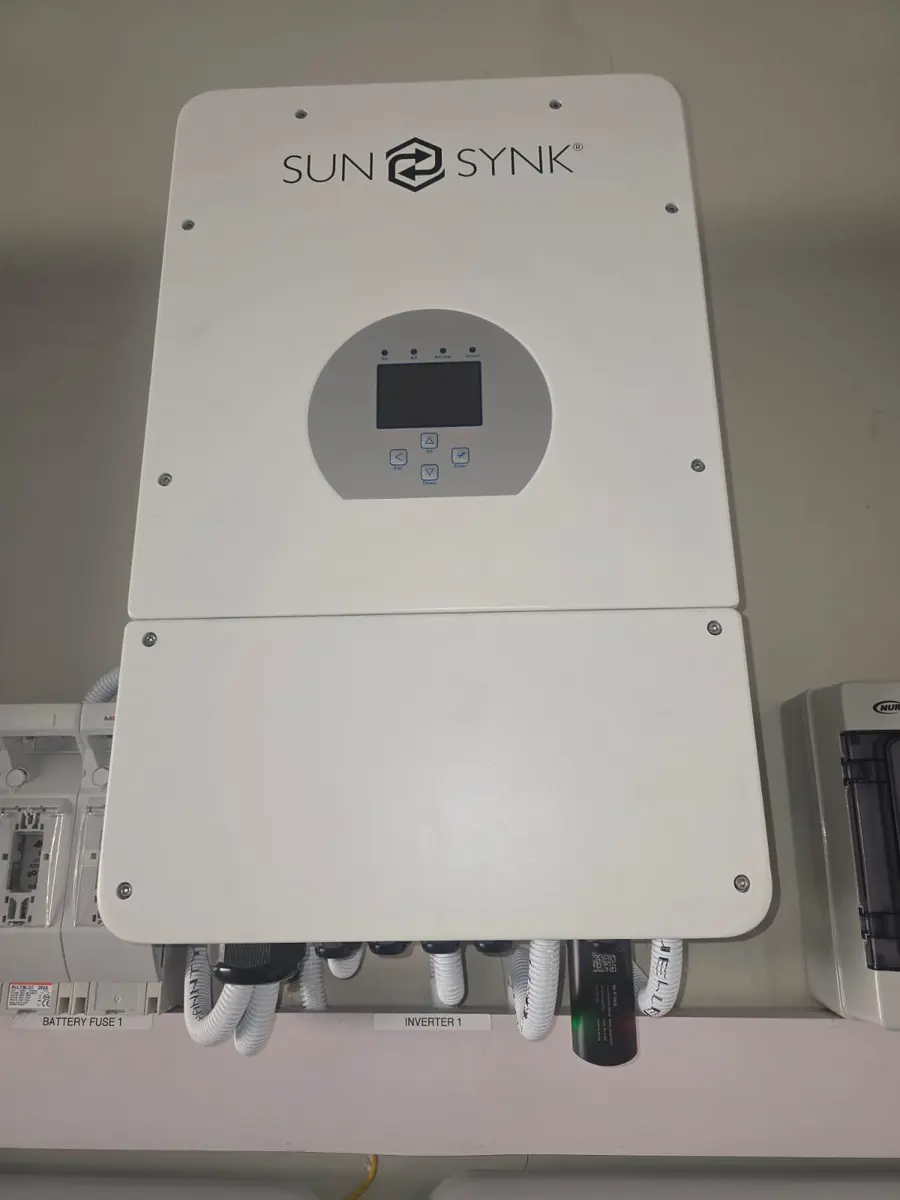
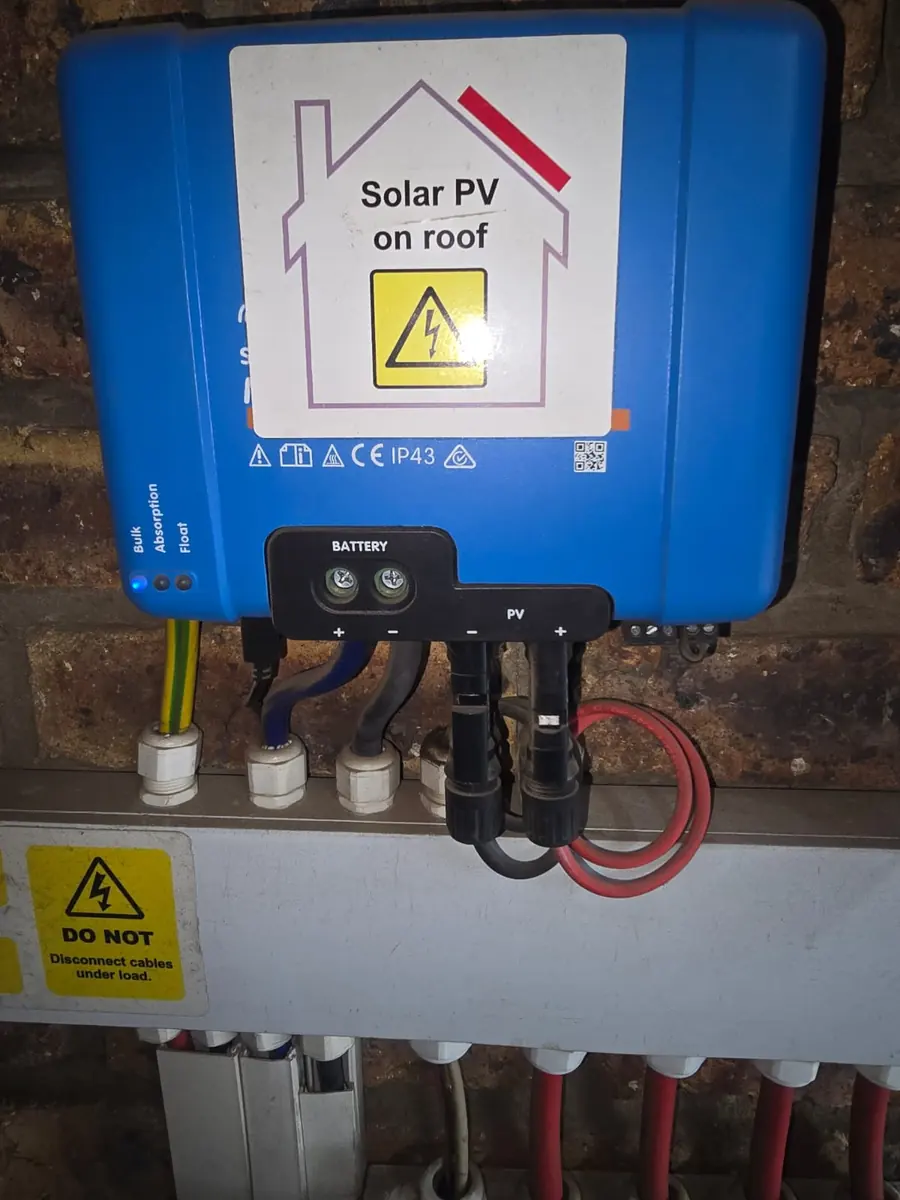
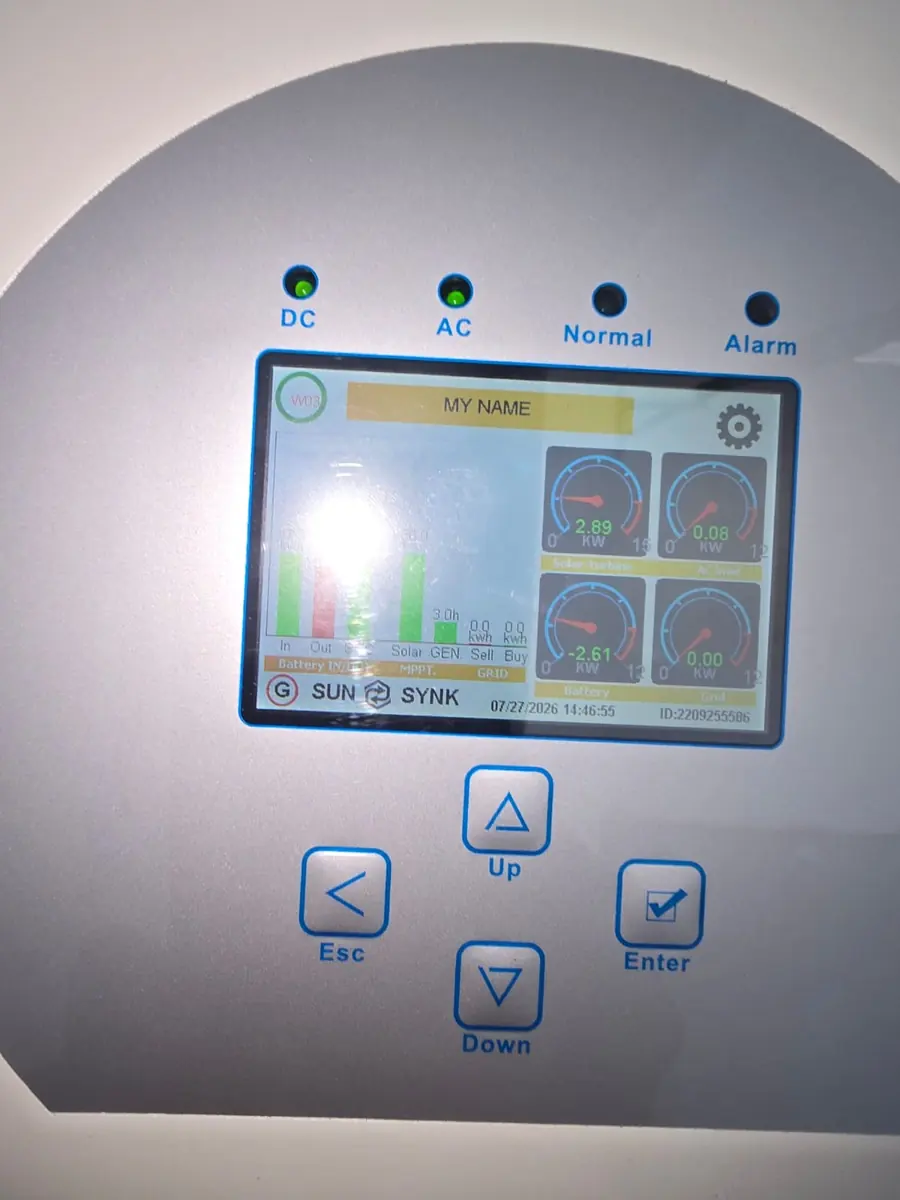
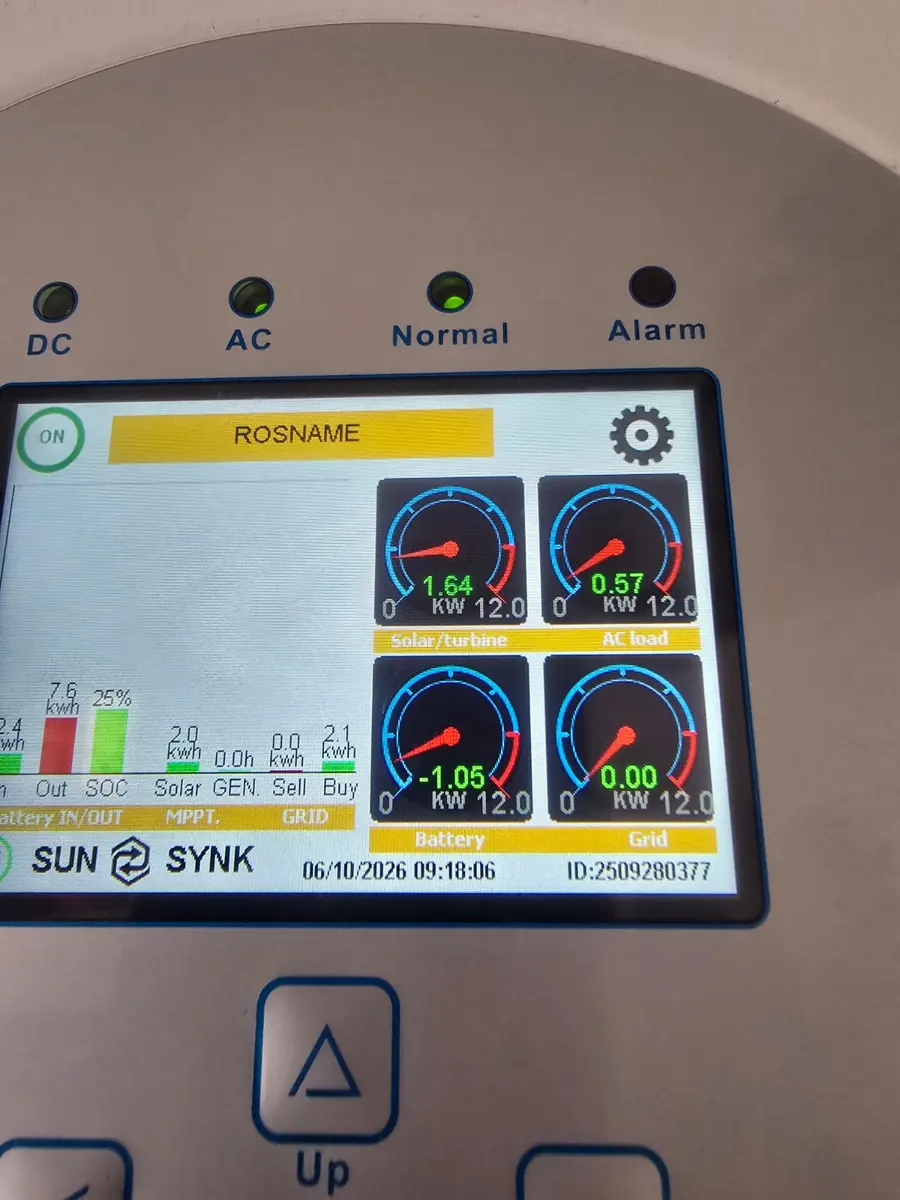
The inverter is the brain of the system. A hybrid inverter such as the Sunsynk units we install takes DC from the panels, charges the battery, feeds the house, and manages the grid connection — all at once, according to the priorities you set (use solar first, hold a battery reserve for outages, and so on). On larger or off-grid-capable systems we also work with Victron equipment, which splits the same job across an MPPT charge controller, an inverter/charger and a monitoring gateway.
Talk to the team that does this work
Free quotes, straight answers and SANS 10142-compliant workmanship across the East Rand and Sandton. Call, WhatsApp or request a quote online.
5. Battery storage
Lithium batteries — Hubble is a brand we use regularly — store solar energy for the evening and for outages. They communicate with the inverter over a data cable so the inverter knows the battery’s state of charge and limits, which is why the communication wiring in a solar installation gets the same care as the power cabling. Batteries are mounted with ventilation, fused on the DC side and kept away from heat.
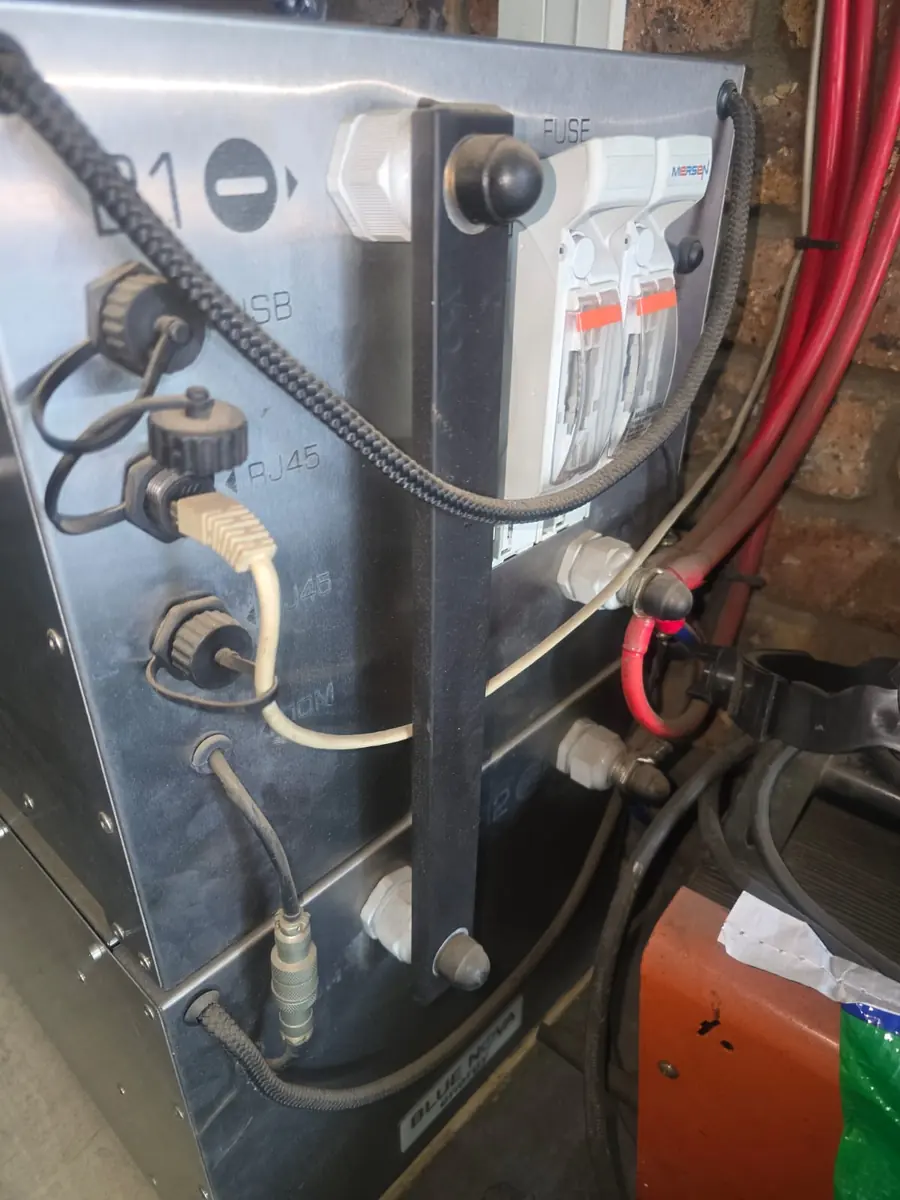
6. AC side: changeover, essential circuits and the DB
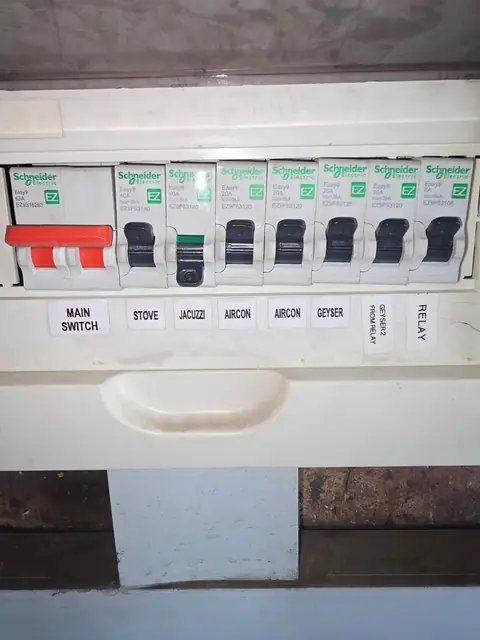
On the AC side the inverter output feeds an essential-circuits section of the DB — lights, plugs, TV, routers, fridge — while heavy loads such as the geyser and stove stay on the grid. A changeover arrangement makes sure the inverter can never feed back into the grid during an outage, protecting municipal technicians. Surge protection goes on the AC side too. If the existing board is not up to it, this is the point where a DB board upgrade happens.
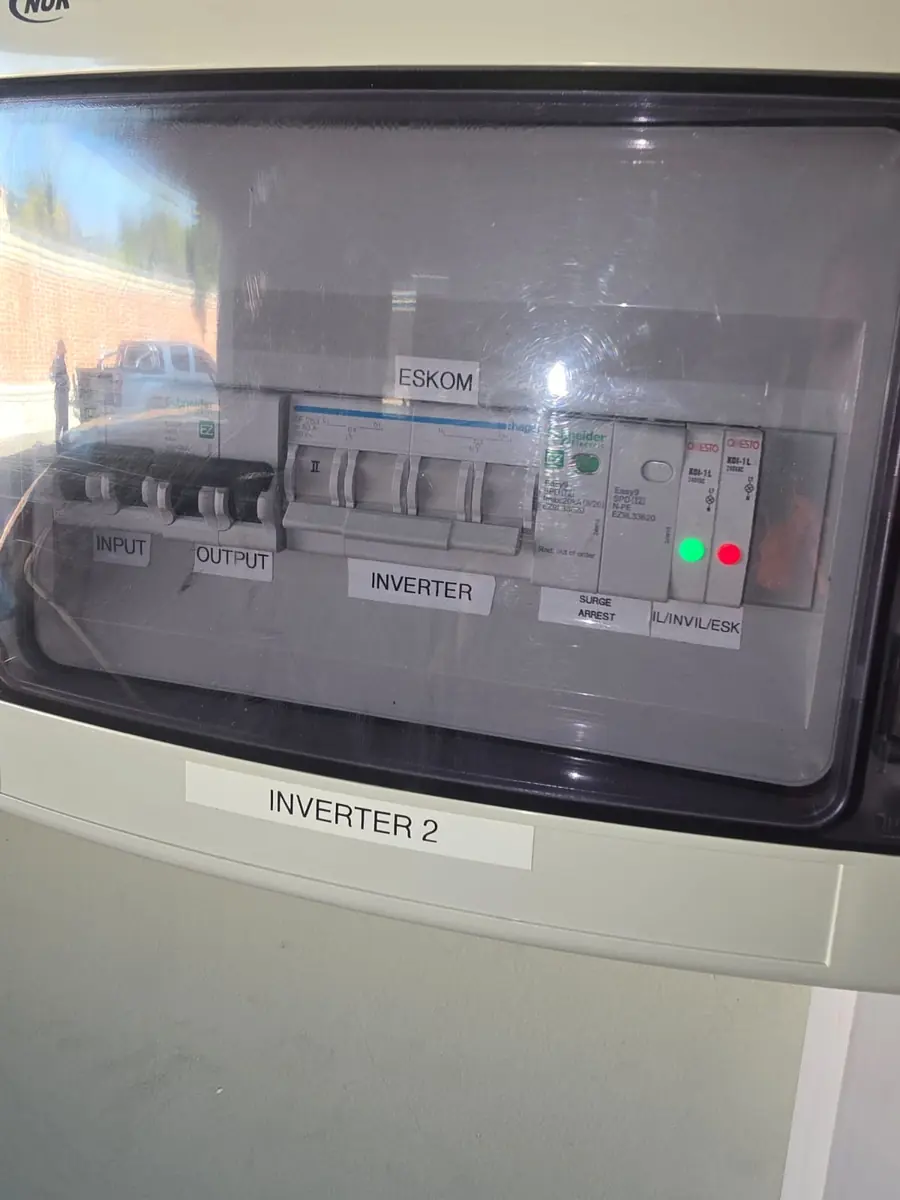
7. Grid connection, anti-islanding and SSEG registration
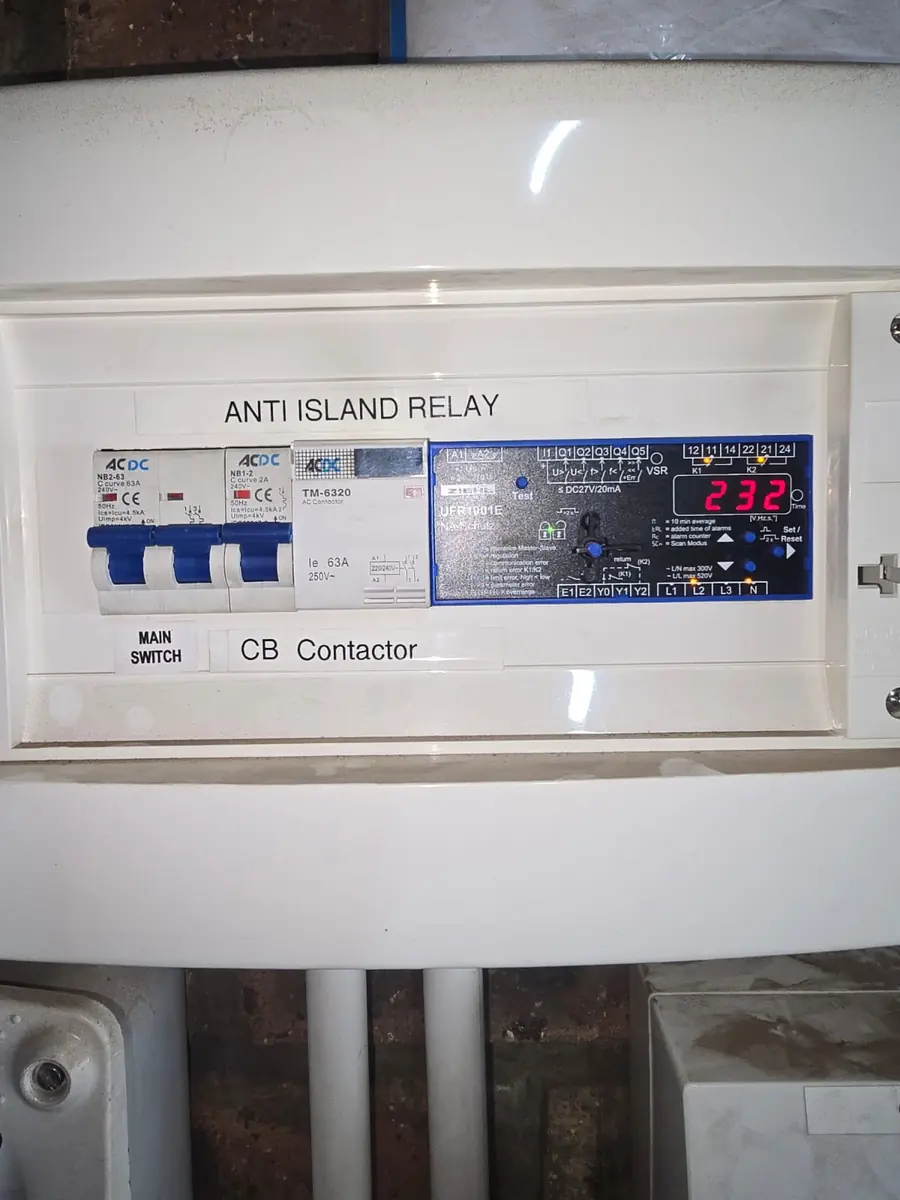
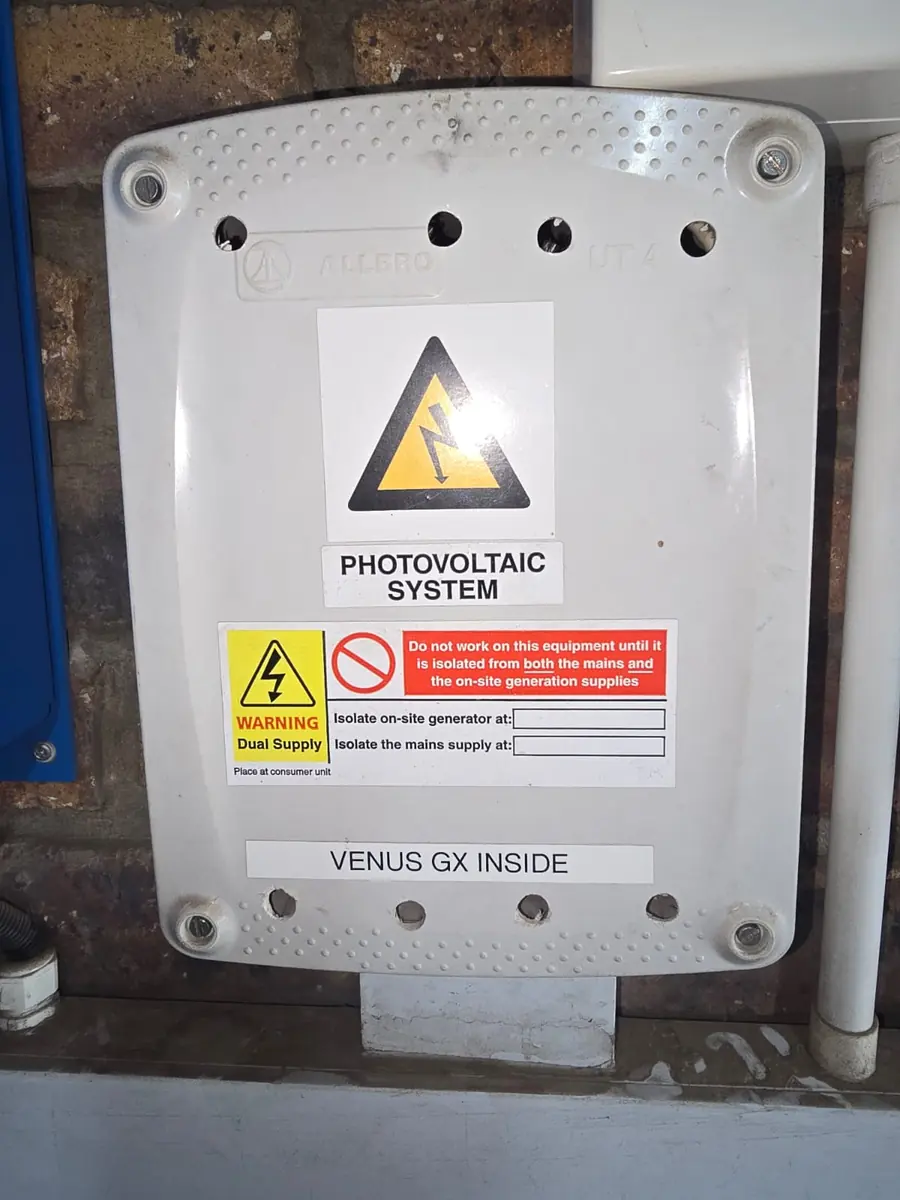
If the system is connected to the grid at all — and almost every hybrid system is — it must not be able to energise the municipal network when the grid is down. That is “anti-islanding”, and on grid-tied systems it is enforced by protection inside the inverter and, where the municipality requires it, by a separate anti-islanding relay that monitors grid voltage and frequency and disconnects the system outside the permitted window.
Grid-tied systems must also be registered with the municipality as small-scale embedded generation (SSEG). For most of the East Rand that is the City of Ekurhuleni; Johannesburg has its own process for Sandton and surrounds. Registration requires the installation to be certified, which brings us to the last step.
8. Commissioning, monitoring and the COC
At commissioning we test string voltages and polarity, insulation resistance, earth continuity and earth-leakage operation on the backup side, set the inverter’s charge and grid parameters, and simulate a grid failure to confirm the changeover behaves. The inverter’s monitoring app is set up so you can see solar production, battery state and grid use from your phone.
Finally the installation is issued with a Certificate of Compliance. Solar is part of your fixed electrical installation under SANS 10142-1, and a system installed without a COC will cause problems with insurance, with SSEG registration and when you sell the property. Our guide to electrical COCs explains what the certificate covers.
Where we install. Electromech designs and installs solar and battery systems for homes and businesses across the East Rand — Boksburg, Benoni, Kempton Park, Germiston, Bedfordview, Alberton — and into Sandton, signed off by registered electricians with a COC. See our solar and renewable energy page or ask about an energy-saving assessment first if you want to cut usage before you size a system.
Frequently asked questions
Do I need a COC for a solar installation?
Yes. It is an alteration to your electrical installation and must be certified by a registered person. Insurers and the municipality will ask for it.
Can I install solar without connecting to the grid?
A backup-only or off-grid system is possible and avoids SSEG registration, but for most homes a grid-tied hybrid system gives far better value because the grid covers the days the sun does not.
How long does a home solar installation take?
A typical residential system is installed and commissioned in one to three days once the equipment is on site, longer if the DB board needs upgrading first.